How may we help you?

Zeo

Account Creation and Product Activation

Thank you for choosing Antelope Audio!
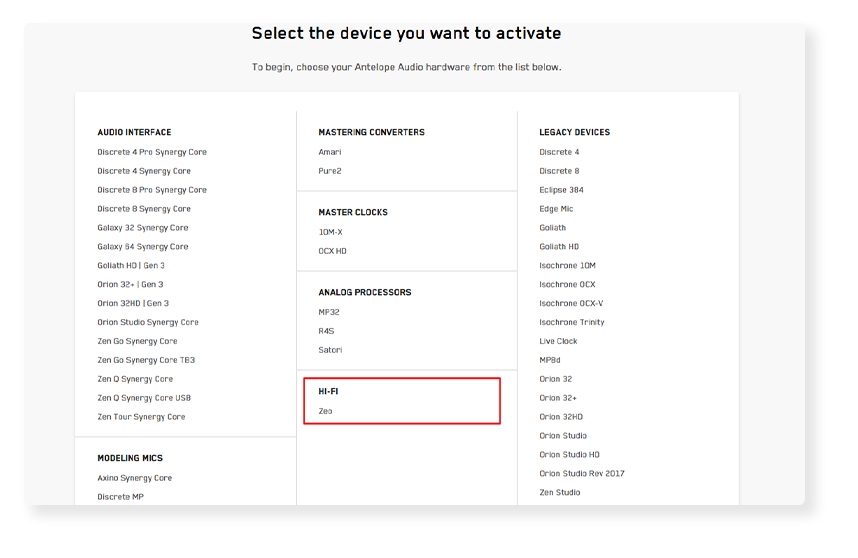
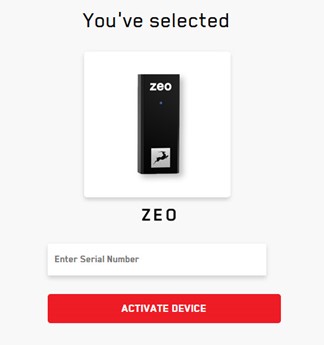
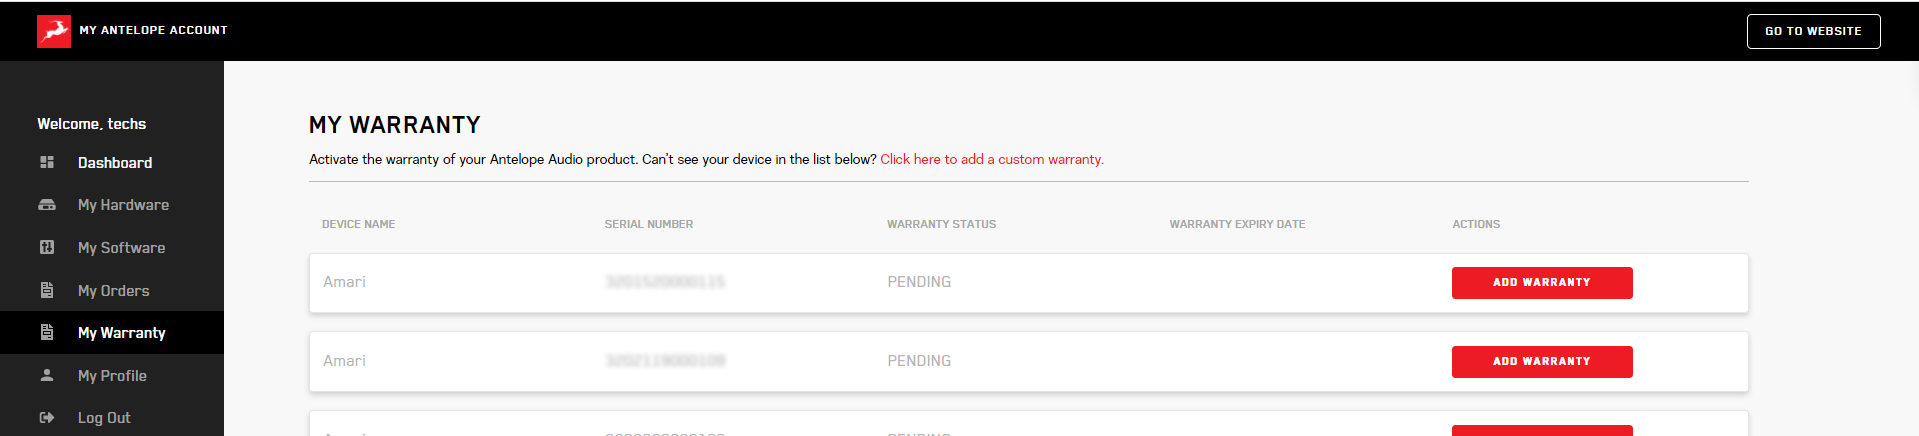
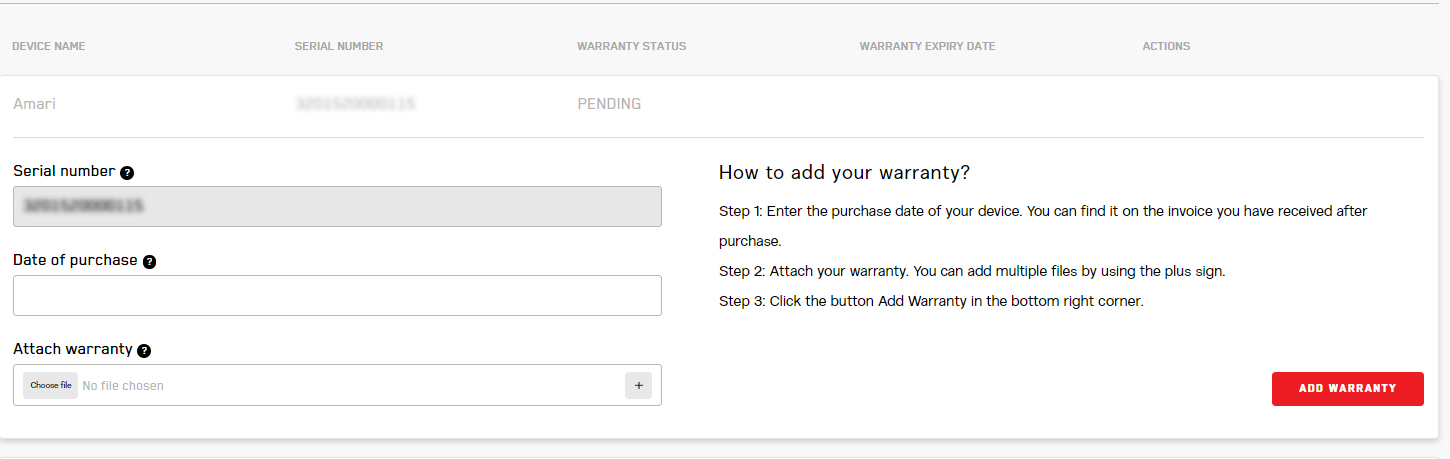
 

The activation of ZEO is needed to validate your product warranty.
Internet connection is required for successful product activation.


The product activation is not related to its functionality.


NOTE:
*To avoid hearing damage, turn down the volume of your system to its minimum level before you put the headphones on..


Step 1

Create an Antelope Audio User Account

To activate your device and fully utilize all of its features, you will need to create an Antelope account.


To create an account, please click here.


Existing users can log in here.


Step 2

ZEO activation

Once you have logged in, click on My Account in the top right to access the use Dashboard

website login image

Click on the Activate New Device button on the main Dashboard.

dashboard

Choose ZEO from the device list:

select device activate zeo

After selecting your device, enter the 13-digit serial number which you can find on a small sticker in the base of your device or on the side of the box:

selected device


Download and install the Antelope Launcher application for Windows or macOS. You will only need it in case a Firmware update is required.


Step 3

Activate your product warranty

Lastly, you will be required to activate your product warranty. This is done from the My Warranty tab in My Antelope Account.

Warranty 1

If you have successfully activated your product, it should now appear under My WarrantyClick on Add Warranty.

Warranty 2

On the following screen you will be asked to enter information about your new device and to attach proof of purchase. You can add multiple files (up to five) by using the plus sign. Acceptable formats are .pdf, .jpg, .png, .jpeg, .heif, and the size limit is 7 MB per file. Once you have completed the steps click Add Warranty.

Warranty 3

After successfully completing the process, you can click on View Warranty to see if your file has been uploaded correctly.

You are set and ready to use your new audio interface!


Setting up after online activation is complete

Windows PC:


ZEO is natively compatible with Windows, and it does not require additional drivers to be installed. Once the device is plugged, the computer will recognise it and it will show up in “Sounds” tab:


Volume can be adjusted from the Windows volume slider. In order to change the Sample Rate Enter the ‘Sounds’ options window from the Control Panel or right-click the speaker icon in the system tray and choose ‘Open Sound settings’ and navigate to “Advanced”:


If you are using ZEO with a DAW, it will automatically follow the Sample rate of the DAW without the need to change it from “Windows Sound Settings”. The device will appear as MME/DirectX driver in your DAW.


macOS:


ZEO is natively compatible with macOS systems, and it does not require additional drivers to be installed. Once the device is plugged in, the computer will recognise it and it will show up in “Audio MIDI Settings” and “Sounds” tab:


 • Volume can be adjusted from the Volume Slider. 

 • Sample rate can be changed from the drop-down menu “Format”.


If you are using ZEO with a DAW, it will automatically follow the Sample rate of the DAW without the need to change it from “Audio MIDI Settings”. The device will appear as Core Audio driver in your DAW.

Downloads

In this article, you can find the download link for your Antelope device's user manual:


USER MANUAL