Thank you for choosing Antelope Audio!
The activation of SRC is required to validate your product warranty.
Internet connection is required for successful product activation.
Step 1: Create an Antelope Audio User Account
To activate your device, you will need to have an Antelope account.
To create an account, please click here.
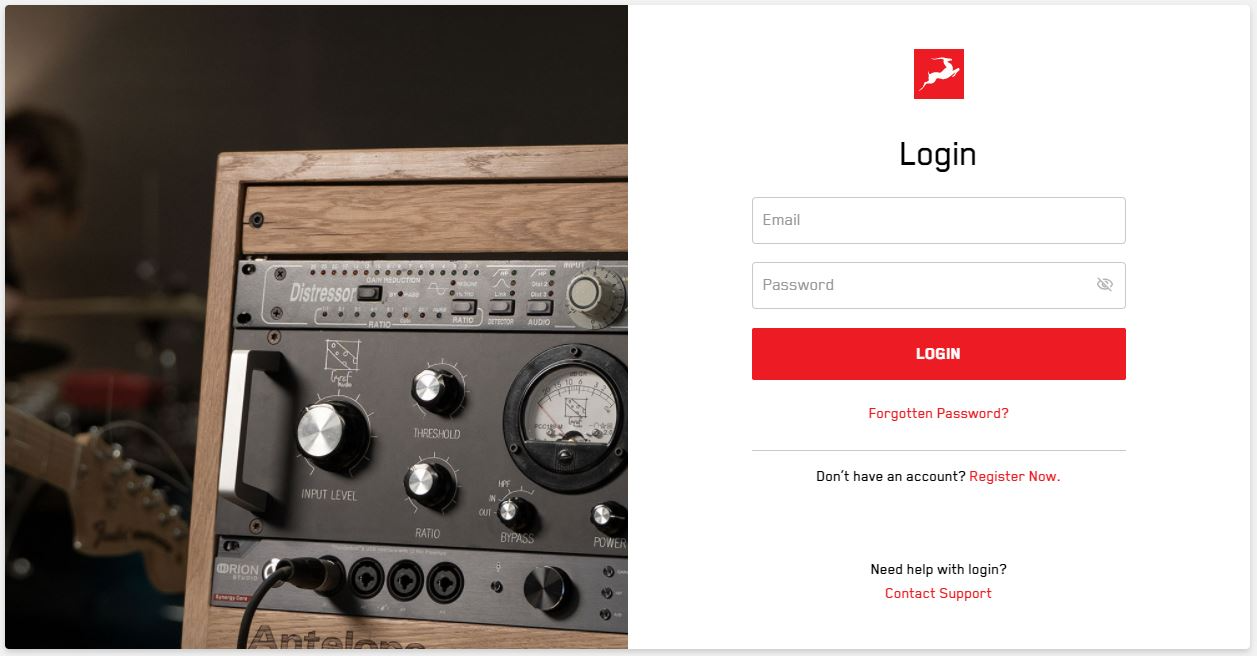
Existing users can log in here.
Step 2: SRC Activation
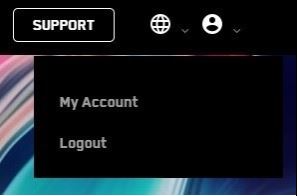
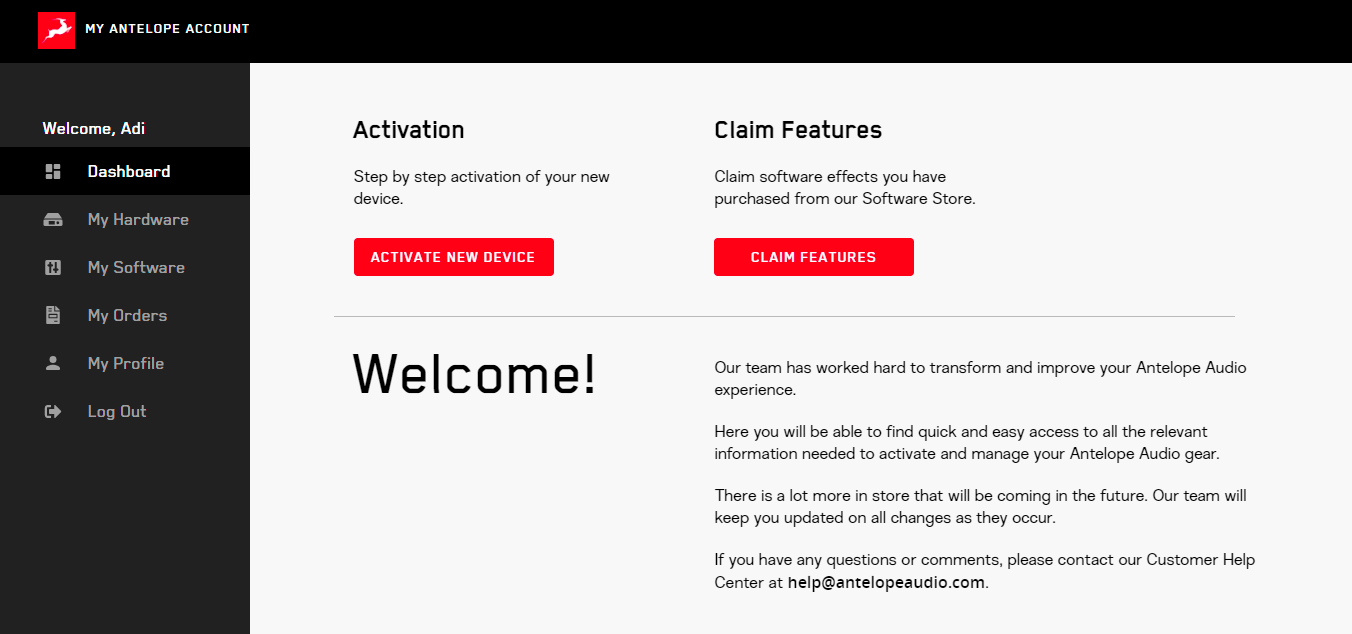
Once you have logged in, click on My Account in the top right to access the user Dashboard
Click on the Activate New Device button on the main Dashboard.
Choose SRC from the device list:
* If you already have the Antelope Launcher installed – make sure you are running version 3.2.6 or later, as well as the latest available Manager Server version in the System tab. To update the Antelope Launcher, click Check for updates in the application’s settings menu.
Before continuing, please ensure that the accompanying Orion Studio Synergy Core interface has been fully updated in order to use the SRC remote. Please go to the interface’s Manage device menu and install the latest available bundle.
Once in the Antelope Launcher, connect your SRC to your computer via the provided USB cable. Click the Activate button and follow the onscreen instructions.
Important: To use SRC with the Orion Studio Synergy Core, make sure you have installed the Orion Studio Synergy Core Bundle version 2.2.85 or later. During this process, the Unified Driver 4.6 will be installed automatically.
- If driver updates are disabled, please manually download and instal driver version 4.6.0.
- If the Orion is connected with USB, no driver is required on MAC.
Step 3: Activate your product warranty
To activate your product warranty, navigate to the My Warranty tab in My Antelope Account.
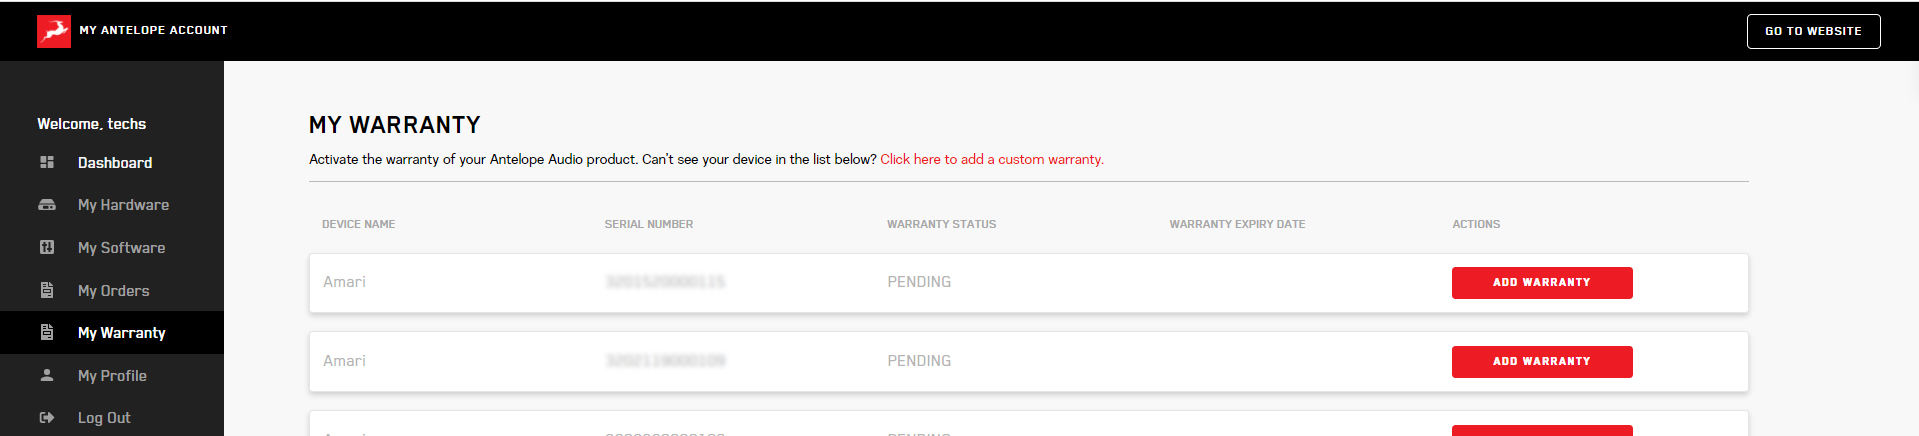
If you have successfully activated your product, it should now appear under My Warranty. Click on Add Warranty.

On the following screen you will be asked to enter information about your new device and to attach proof of purchase. You can add multiple files (up to five) by using the plus sign.
Acceptable formats are .pdf, .jpg, .png, .jpeg, .heif, and the size limit is 7 MB per file. Once you have completed the steps click Add Warranty.

After successfully completing the process, you can click on View Warranty to see if your file has been uploaded correctly.
You are set and ready to use your new remote!
Need any help?
Visit the Antelope Audio Customer Support page, choose your device and find the required information.